

How to Test Glass Bottles With Caps, Pumps and Droppers for Leakage
Test glass bottles with caps, pumps and droppers for leakage using closure fit, liner contact, inversion, vacuum logic, packed samples and records.

Leak testing glass bottles with caps, pumps and droppers should answer one practical question: will the finished assembly stay sealed under the way it is filled, closed, packed, shipped and received? A loose empty bottle check cannot answer that. Buyers need separate checks for the empty container, the filled assembly, orientation risk, packed samples and incoming inspection.
There is no single test time, pressure, vacuum value or acceptance rule that fits every glass packaging project. A perfume sprayer, a cosmetic pump, an assembly reviewed through Essential oil bottle closure matching, a food jar cap and a reed diffuser plug all seal differently. The buyer's job is to make the supplier state which method is being used, what it proves and which variables are included.
Separate five leakage questions
The first question is whether the empty glass container has a neck, thread, sealing land or finish that can accept the intended closure. The second is whether the filled assembly seals after the real cap, pump, dropper, stopper or plug is installed. The third is whether the pack stays sealed in the orientation it may face during storage or transport. The fourth is whether the carton or insert creates pressure that changes the result. The fifth is whether incoming goods match the approved sample.
Keeping these questions separate prevents a common mistake. A supplier may show that an empty bottle looks correct, while the buyer assumes the filled and packed product is approved. The test record should make clear which stage has been checked and which stage still needs confirmation.
Empty bottle check
The empty bottle check focuses on the glass and the interface area. Inspect the neck finish, thread, sealing land, rim, crimp area or stopper seat depending on the closure route. Compare the bottle with the drawing and the approved sample. Check whether visible chips, deformation, mold mismatch or heavy surface defects appear in the functional area.
This stage does not prove final leakage performance. It only confirms that the bottle is suitable for assembly testing. If the closure route changes after this stage, Purchasing teams should repeat the relevant interface check.
Filled assembly check by closure route
| Closure route | What to check | Common failure signal |
|---|---|---|
| Screw cap | Thread engagement, liner contact, torque guidance and fill level | Wet thread, cap loosening or liner mark variation |
| Crimp pump | Crimp seating, pump stem, collar fit and actuator protection | Leakage near pump, poor spray or loose collar |
| Dropper | Cap seal, bulb material, pipette length and fill level | Seepage at cap, product in bulb area or pipette interference |
| Stopper or plug | Insertion depth, material contact, cap pressure and side orientation | Slow seepage, plug creep or stained carton cell |
| Sprayer or lotion pump | Pump lock, dip-tube length, overcap clearance and carton fit | Actuator discharge, wet overcap or compressed pump |
The filled assembly check should use the actual formula when possible. If confidentiality or timing prevents that, Purchasing teams should agree a representative liquid and document its limits. A water screen can find obvious leakage, but it may not reveal the same behavior as oil, alcohol, fragrance or a viscous formula.
Orientation and handling check
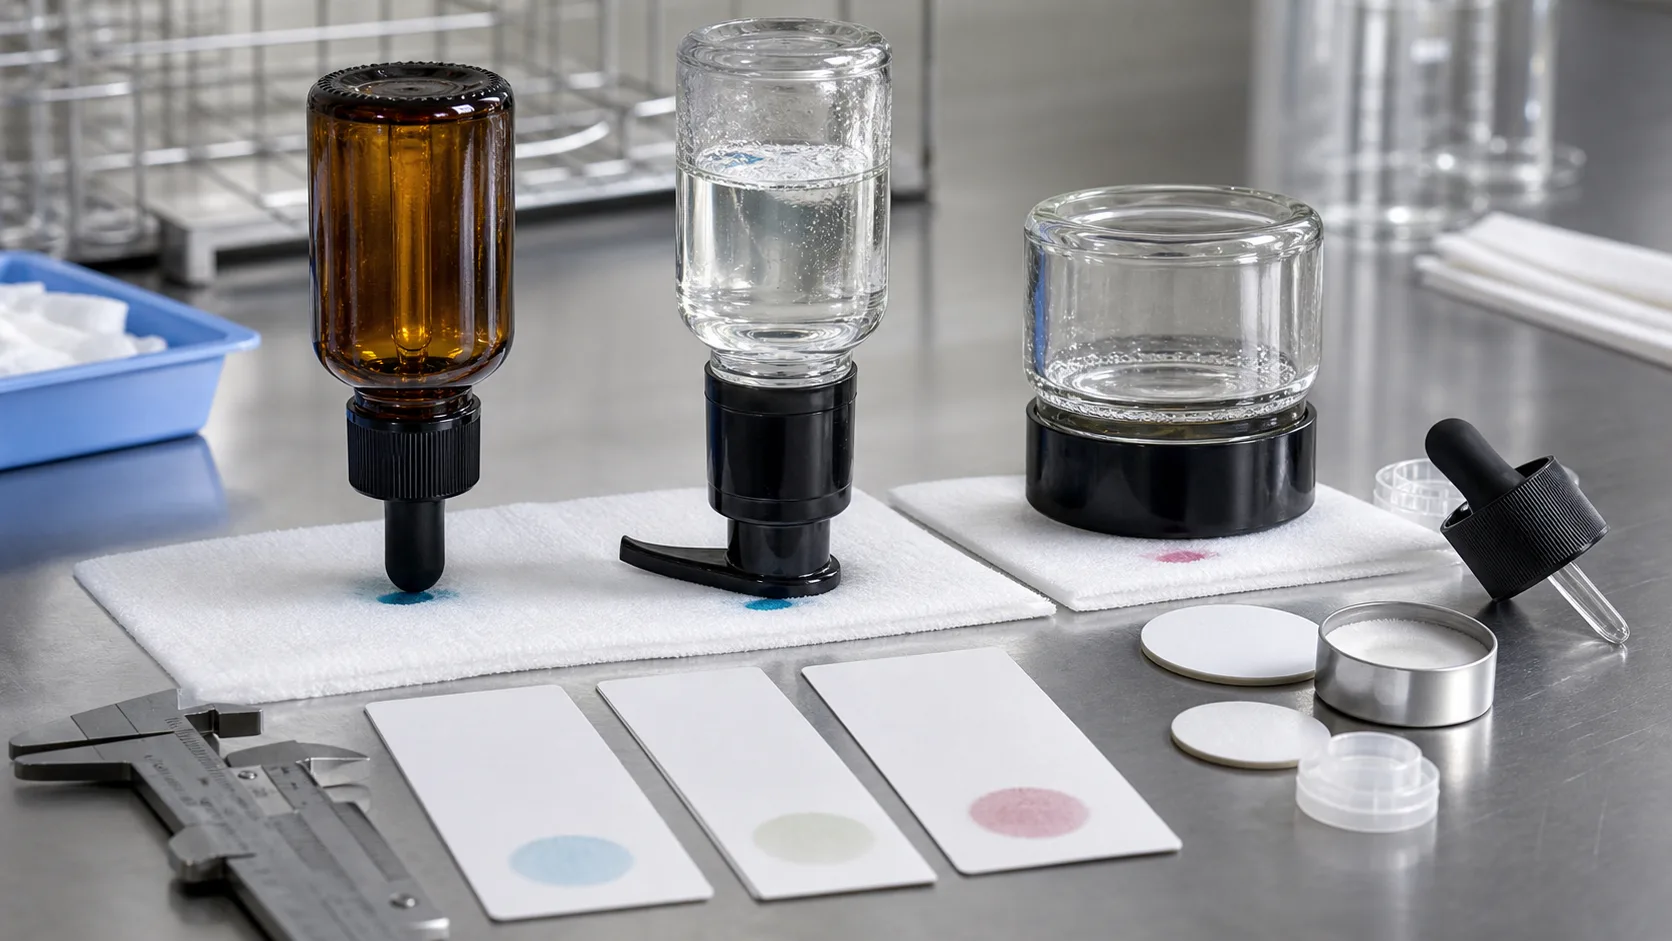
Orientation matters because many export cartons do not remain perfectly upright throughout handling. Side storage, inversion, vibration and temperature changes can reveal problems that upright samples hide. The supplier should explain which orientation check is appropriate for the pack and product category.
Purchasing teams should avoid adding unsupported universal values. Instead, the purchase record can state the orientation, sample condition, duration or handling method agreed for the project. If a third-party filler or brand owner has its own protocol, that protocol should be aligned before the supplier prepares production samples.
Packed sample check
A filled bottle can pass a bench check and fail in a carton. Dividers, sleeves, gift boxes, overcaps and inserts can press on the closure or rub the decorated face. For pumps, carton height can press the actuator. For droppers, side orientation can stress the cap seal. For diffuser bottles, plug pressure and fill level can interact with carton movement.
Packed-sample review should include the final carton style, divider, bottle orientation, accessories, labels or coatings, and pallet or parcel route where relevant. If the buyer changes carton structure after sample approval, the leakage result should not be assumed to carry over automatically.
Test record fields purchasing teams should require
- Bottle drawing reference used by the supplier.
- Closure model, liner or gasket, pump, dropper, stopper or plug material.
- Fill level, test liquid and whether the liquid represents the final formula.
- Assembly method, torque or crimp guidance where supplied by the component maker.
- Orientation, packed condition and handling method used for the check.
- Photos before and after the check, including suspect pieces.
- Decision rule for component substitution, carton change or repeat orders.
Leak Diagnosis and Root-Cause Isolation
When leakage appears, changing the cap immediately can hide the real cause. First identify the leak path. Liquid on the thread may point to poor liner contact, overfilling or cap looseness. Liquid under a pump actuator may point to pump assembly or stem-area seepage. Liquid near a dropper bulb may point to bulb, pipette, cap or handling pressure. Wet cartons without a wet bottle may point to fragrance vapor, stained dividers or a leak that evaporated before inspection.
Check whether the issue appears on every sample or only after packing. A bottle that passes loose testing but fails in the carton may be under closure pressure from the divider or gift box. A bottle that leaks only when side-loaded may need a stronger orientation check. A bottle that leaks only after filling with the real liquid may need formula compatibility review rather than a glass-neck change.
When leakage appears, separate the root cause before requesting corrective action. If the leak is at the thread, check cap engagement, liner contact and neck finish. If it appears around a pump, check crimp seating, pump model, actuator protection and carton pressure. If a dropper leaks, check cap fit, bulb material, pipette length and fill level. If a diffuser leaks, check plug fit, fragrance contact, cap pressure and shipping orientation.
Incoming inspection should follow the same logic. Inspect cartons for smell or stains, pull samples from different carton positions, photograph suspect pieces and compare them with the approved sample. A clear record helps decide whether the issue is glass, closure, filling, packing or transport handling.
Buyer approval route
A safe approval route through Design & Development moves from component fit to filled assembly to packed shipment evidence. The empty bottle and closure check confirms basic matching. The filled sample confirms liquid contact and fill level. The orientation check shows whether the closure can handle expected handling. The packed sample shows whether cartons, dividers, caps and accessories create pressure. Incoming inspection confirms whether the chosen route survives real transport.
Each step should have a clear owner. The bottle supplier may confirm neck finish and closure fit. The accessory supplier may confirm liner, gasket, pump or dropper construction. The filler may confirm assembly method and fill level. Purchasing teams should hold the final approval record because the finished pack depends on all parties working together.
Packaging interaction checks
Leakage checks should include the carton because packaging can create a failure that loose samples never show. Dividers can push pumps sideways, inserts can press decorative caps, and accessory bags can rub against droppers or stoppers. If the product ships with gift boxes, review the inner box and master carton together. If the product ships through parcel channels, confirm whether the pack can handle side orientation and repeated handling.
For repeat orders, do not approve carton substitutions by price alone. A thinner divider, tighter insert or different bottle orientation may change closure pressure. The pack should be checked again when carton structure, accessory position or shipping route changes.
Incoming evidence after shipment
Arrival checks should document the condition before the pack is disturbed. Photograph outer cartons, inner dividers, cap position, wet marks, odour, bottle orientation and any pieces that differ from the approved sample. Pull samples from different carton positions so the buyer can tell whether the issue is isolated, carton-position related or repeated across the shipment.
This evidence helps the supplier correct the right cause. A pump compressed by an insert needs a different action from a weak liner, poor cap fit or formula compatibility issue. Better evidence also protects future orders because the same check can be repeated after any component or carton change.
Keep the record with the purchase file so the next order uses the same acceptance boundary.
RFQ language for leak-sensitive orders
For Essential Oil Bottles, the RFQ should state the product type, fill level, closure route, liner or gasket requirement, formula risk if it can be shared, shipping orientation risk, carton method and whether filled samples are required. Ask suppliers to separate empty-container checks from filled-assembly and packed-sample checks. That makes quotes comparable and prevents leakage work from being hidden outside the unit price.
A practical next step is to approve leakage risk in stages. A project can move forward when the empty bottle, filled assembly, orientation condition, packed sample and incoming record all support the same closure route.
 Scan WhatsApp
+86 173 6846 7899